The "Administration → User management" tab allows you to view all users of the application and to change their user data. You have the option of calling up more information (detailed view) about every user. You can change personal data, the language and the site access rights in the detailed view.
Opening the detailed view of user
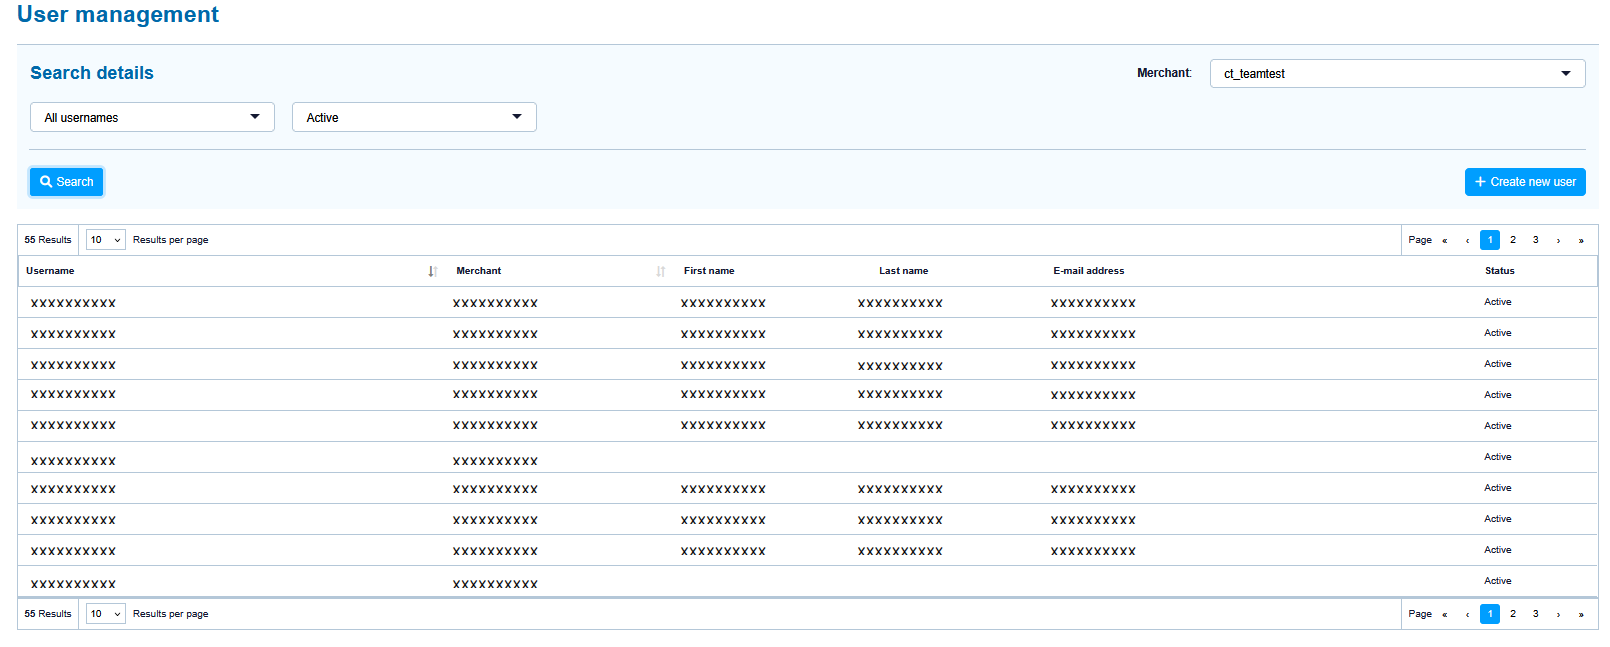
"User name" column
User name of a user
Proceed as follows to open the detailed view of an operation:
-
Click on the name of the required user in the "User name" column.
→ The detailed view of the user opens.
The detailed view of the user is divided into "Profile", "Settings", "Permissions" (optional) sections.
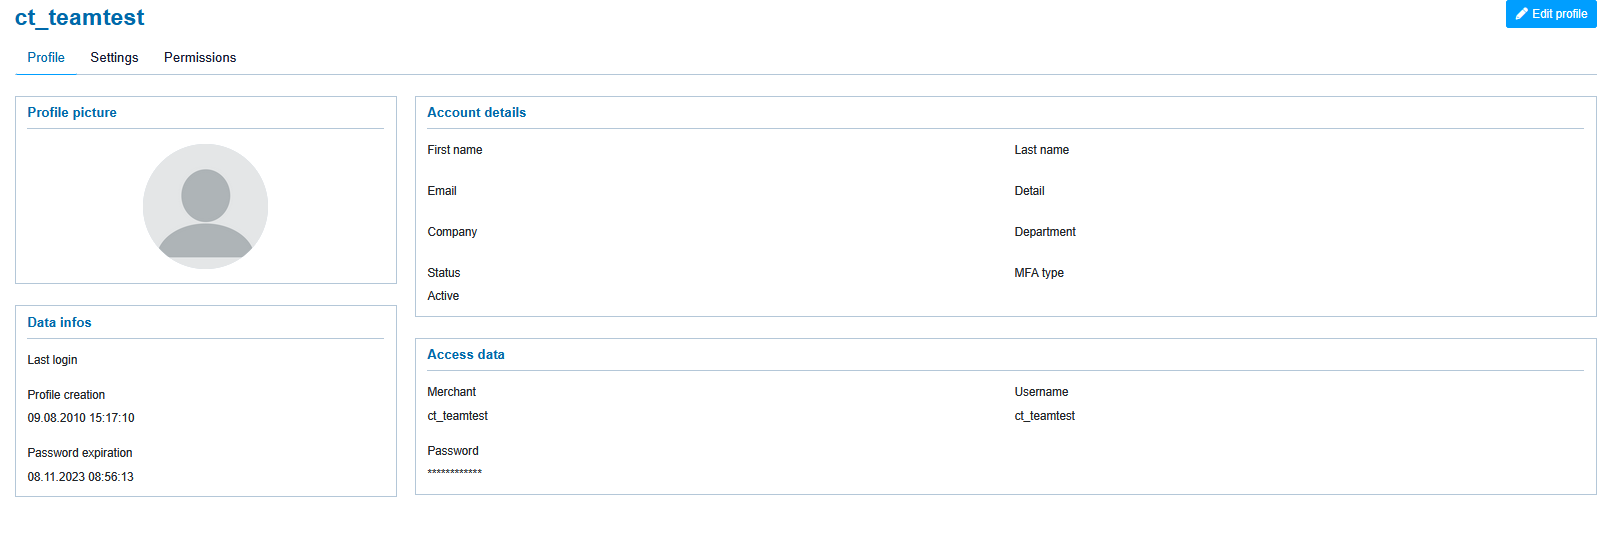
Changing access data
Access data
The access data Merchant and username for the user can only be changed by NEXI Helpdesk for security reasons.
The password can be changed by editing the access data. After creation of password, please remember to copy the password. Once saved you will just able to override it.
Changing personal data
You can change personal data by using the "Edit profile" button.
Changing the language
You can change the language displayed to the user by using the "settings" tab.
Deactivating/activating access rights for the user
In order to enable a tab or an action for the user, you must activate the corresponding permission in the detailed view of the user.
Proceed as follows to activate or deactivate the site access rights for the user:
-
Open the detailed view of a user.
-
Click on the "permissions" tab and click on "Edit profile" button.
→ The necessary permissions can be selected. After selection click on save profile.
-
Activate or deactivate permissions. A description of the permissions can be found in the table below.
Showing and hiding site access rights
When you activate a higher-level permission (indicated in bold type), the corresponding lower-level permissions are selected. you can individually de-select the low level user rights.
You can use the "New user" button to create a new user for your application in the tab "Administration → User management". By creating new users, you can grant several persons access to the application. This has the advantage of allowing you to assign areas of responsibility and view activities by every user in the application.
Creating a new user

"Create new user" button
Proceed as follows to create a new user:
-
Click on the "Create new user" button.
→ The "Create new user" window appears.
Profile and Account Details
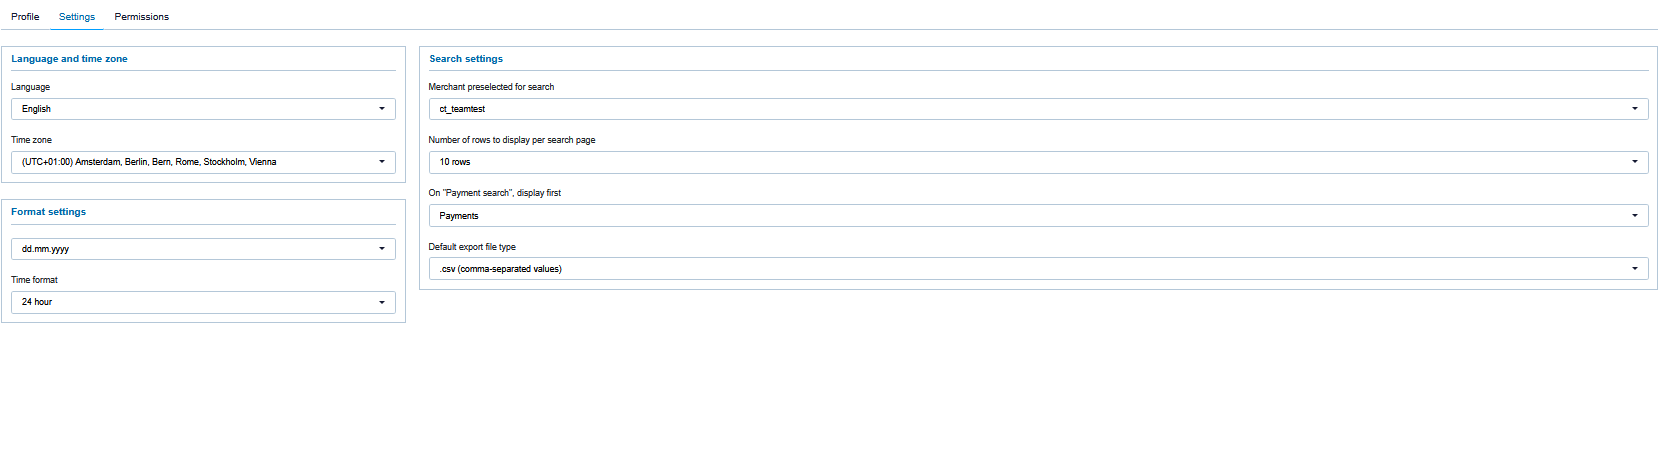
Settings
Permissions
User name of the new user
You cannot change the user name after creating the user. The user name can only be changed by NEXI Helpdesk for security reasons.
Password for the new user
You cannot enter a password for the new user. The new user will be automatically sent the password valid for use with their access data. You can change the password in the user management once the user has been created. Make sure that you change the password before handing over the access data. Otherwise, your password may be passed on to unauthorized persons.
-
Enter the user name and password.
-
Enter the personal data.
-
Select the localization data and search settings.
"Time zone" input field
Operations can only be displayed and created with the correct time data as long as you have selected the right time zone for the user.
-
Select the site access rights. A description of the site access rights can be found in the Manage User Section.
Showing and hiding site access rights
When you activate a higher-level site access right (indicated in bold type), the corresponding lower-level site access rights are shown. All lower-level site access rights are shown in Fig. Site access rights.
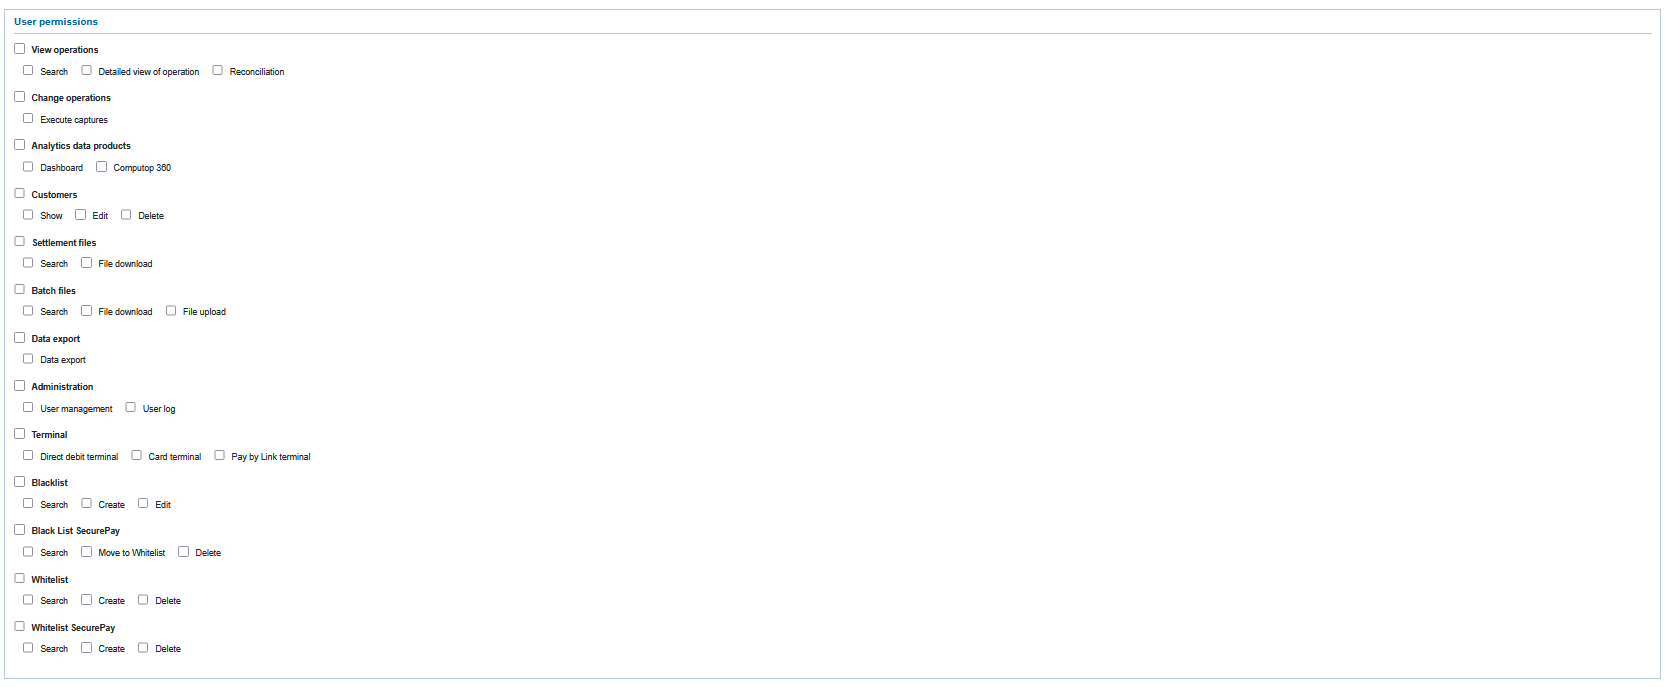
View operations
Change operations
Analytics Data Products
Customers
Settlement files
Batch files
Data Export
Administration
Terminal
Blacklist
Blacklist securepay
Whitelist
Whitelist securepay
Table showing "View operations" site access rights
|
“View operations” site access rights |
Description |
|---|---|
|
View operations |
Enable the tab "View operations" |
|
search |
User with this right can search for payments/transaction |
|
detailed view operations |
User with this right can see the detailed view of payments/transaction details |
|
reconciliation |
View Reconciliations tab and let the user search the payments with account number |
Table showing "Change operations" site access rights
|
“Change operations” site access rights |
Description |
|---|---|
|
Change operations |
Enable editing of payment using the detailed view of operations |
|
Execute captures |
Enable the "Execute captures" action in the detailed view of operations |
|
Execute reversals |
Enable the "Execute reversals" action in the detailed view of operations |
|
Execute credits |
Enable the "Execute credit" action in the detailed view of operations |
|
Delete personal data |
Enable the "Delete personal data" action in the detailed view of operations |
|
Re-authorization manually |
Enable the "Re-authorization manually" action in the detailed view of operations |
|
Re-debiting process |
Enable the "Re-debiting process" action in the detailed view of operations |
|
Cancel |
Enable the "Cancel" action in the detailed view of operations |
|
Close |
Enable the "Close" action in the detailed view of operations |
Table showing "Terminal" site access rights
|
“Terminal” site access rights |
Description |
|---|---|
|
Terminal |
Enable the tab "Create Processes" (optional) |
|
Card terminal |
Enable the tab "Terminal → Card terminal" |
|
Direct debit terminal |
Enable the tab "Terminal → Direct debit terminal" |
|
Pay By Link Terminal |
Enable the tab "Pay by Link" |
Table showing "Batch files" site access rights
|
“Batch files” site access rights |
Description |
|---|---|
|
Batch files |
Enable uploads and downloads of "batch files" |
|
Search |
Enable searching of processed batch files |
|
Download |
User with this access can download the processed batch file |
|
Upload |
user with this access can upload batch file for processing |
Table showing "Settlement Files" access rights
|
“Settlement files” site access rights |
Description |
|---|---|
|
Settlement Files |
Enable search and download of settlement files |
|
Search |
User with this access will be able to search the settlement files |
|
Download |
User with this access will be able to download the settlement files |
Table showing "Analytics Data Product" access rights
|
“Analytics data product” site access rights |
Description |
|---|---|
|
Dashboard |
Enable the tab "Dashboard" (optional) |
|
Computop 360 |
Enable the "Computop 360" (qlik) dashboard in merchant portal. |
Table showing "Customers" access rights
|
“Customers” site access rights |
Description |
|---|---|
|
Search |
Enable the customer search |
|
Detailed view of customer |
Enable detailed view of customer |
|
Delete person-related data |
Enable action "Delete person-related data" in the customer detailed view |
Table showing "Administration" site access rights
|
“Administration” site access rights |
Description |
|---|---|
|
Administration |
Enable the tab "Administration" (optional) |
|
User management |
Enable the tab "Administration → User management" (optional) |
|
User log |
Enable the tab "Administration → User log" (optional) |
Table showing "Data Export" site access rights
|
“Data export” site access right |
Description |
|---|---|
|
Data export |
Enable the Data Export tab |
Table showing "Blacklist" site access rights
|
“Blacklist” site access rights |
Description |
|---|---|
|
Search |
Enable the Blacklist search operation for the user |
|
Create |
Enable the Blacklist creation access for the user |
|
Edit |
Enable the Edit action of the blacklist entries for the user |
Table showing "Whitelist" site access rights
|
“Whitelist” site access rights |
Description |
|---|---|
|
Search |
Enable the user to search the whitelist entries |
|
Create |
Enable the user to create whitelist entries |
|
Delete |
Enable the user to Delete the whitelist entries |
Table showing "Blacklist Securepay" site access rights
|
“Blacklist Securepay” site access rights |
Description |
|---|---|
|
Search |
Enable the user to search through the Blacklist secure pay entries |
|
Show details page |
Enable the user to view the Blacklist securepay details page |
|
Move |
Enable the user to move the blacklist entry to whitelist |
|
Delete |
Enable the user to delete the blacklist entry |
Table showing "Whitelist Securepay" site access rights
|
“Whitelist Securepay” site access rights |
Description |
|---|---|
|
Search |
Enables the user to search through whitelist securepay list |
|
Create |
Enables the user to create securepay whitelist entries |
|
Delete |
Enables the user to delete whitelist securepay entries |
Table showing "Key management" site access rights
|
“Key management” site access rights |
Description |
|---|---|
|
Show |
Enables the user to view API Credentials in the Key management tab |
|
Edit |
Enables the user to manage API Credentials in the Key management tab |
Table showing "Moto search" site access rights
|
“Moto search” site access rights |
Description |
|---|---|
|
Search |
This permission enables the user to search the Moto Transactions created by all the users of the MerchantId in Merchant Portal. |
-
Click on the "save profile" button
→ The input fields close, and the changes are saved